Flashpoint Map Maker User Guide
Flashpoint Map Maker is a QGIS plugin that helps you build hex-based game maps for Flashpoint Campaigns. It walks you through the full process from choosing a map area to exporting a finished image in nine sequential panels.
Who this guide is for
You do not need GIS experience. The plugin is designed for game map builders who want to turn real-world geography into hex-tiled game maps. Each panel in the sidebar handles one step of the process, and you work through them in order.
Requirements
| Requirement | Details |
|---|---|
| QGIS version | 4.0.0 or later |
| Internet | Optional for basemap tiles, elevation data, and OSM downloads |
| OpenTopography API key | Optional; gives higher rate limits for DEM downloads |
| Disk space | A typical project with elevation and OSM data uses 50-200 MB |
Installation
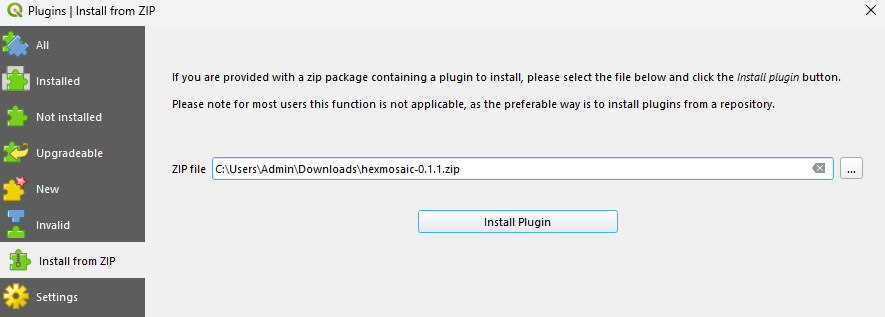
Install the plugin from a zip file using Plugins > Manage and Install Plugins > Install from ZIP:
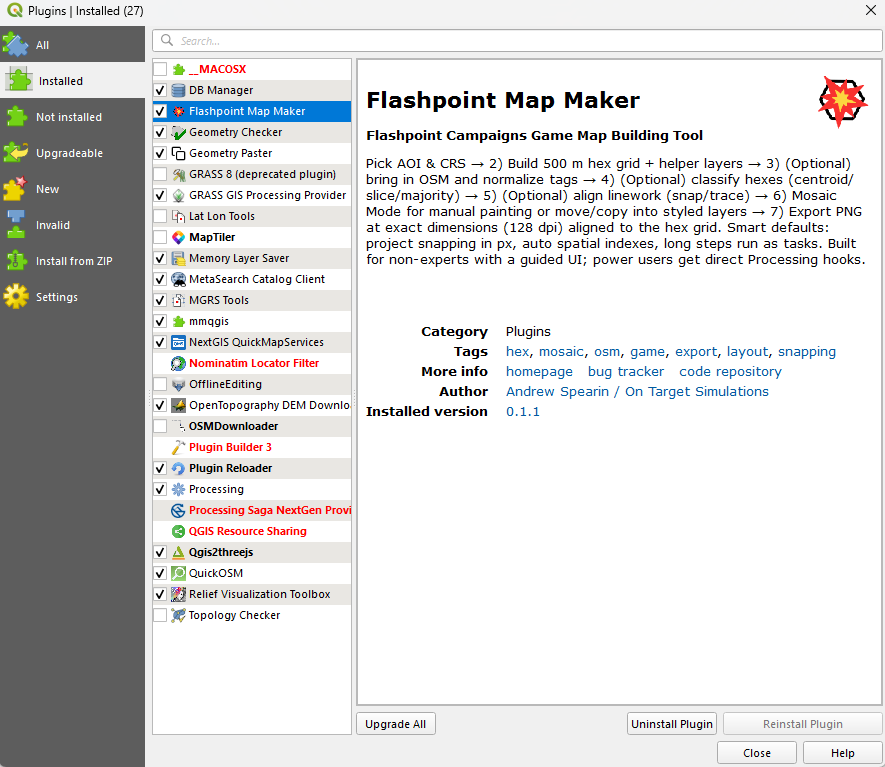
After installation the plugin appears in the installed plugins list:
Once installed, open it from the toolbar:

Workflow at a glance
| Step | Panel | What you do |
|---|---|---|
| 1 | Setup | Name your project, set directories, generate the folder structure |
| 2 | Map Area | Define the area of interest (AOI) and optionally split it into tiles |
| 3 | Generate Grid | Build the hex grid and helper layers |
| 4 | Elevation | Download a DEM and sample elevation values per hex |
| 5 | OSM Import | Pull roads, water, landcover, and buildings from OpenStreetMap |
| 6 | Layer Data Processing | Convert imported source data into project-ready map layers |
| 7 | Map Style | Build or update a styled presentation stack for the AOI |
| 8 | Labels | Extract place names, road names, and water names for the map |
| 9 | Export | Render the finished map to PNG or JPG at exact hex-aligned dimensions |
Steps 4-8 are optional. You can skip any of them depending on what data you need in your final map.
Appendices
- Project File Structure: where layers, exports, and config files live on disk
- Glossary: key terms used throughout the plugin
- Troubleshooting: common issues and how to fix them